
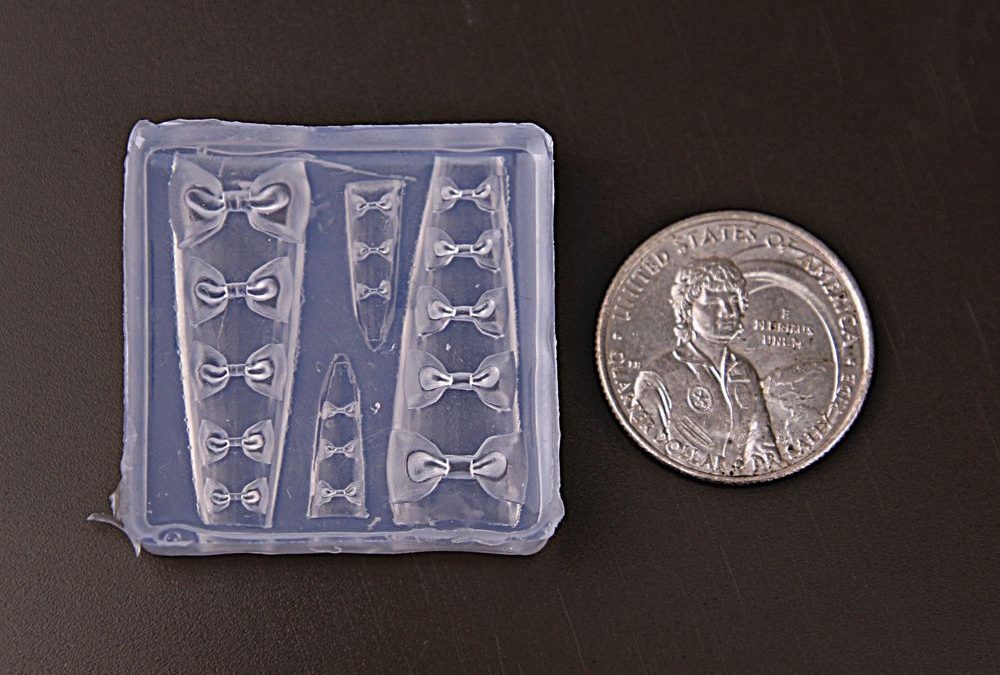
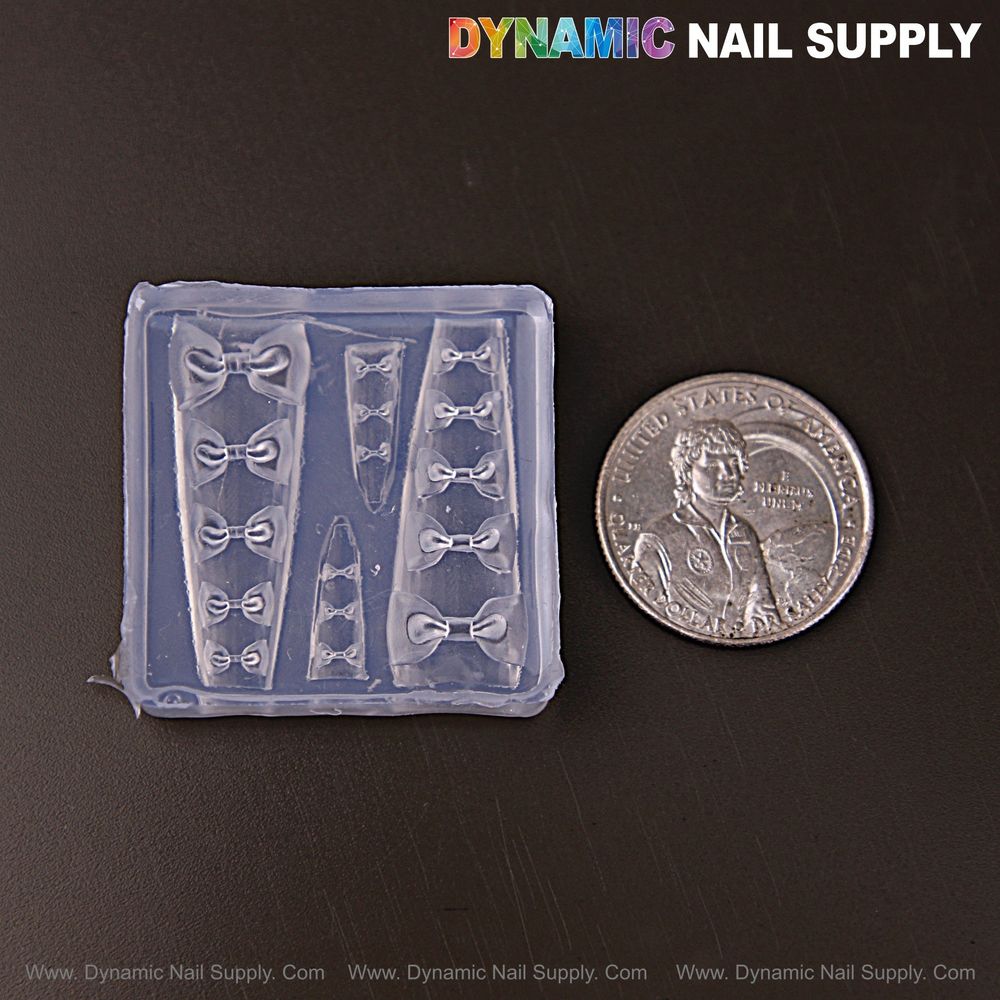
Want a fast way to add crisp raised bows to overlays without casting full charms? This article outlines a repeatable, salon-ready workflow using the translucent Size Classic Bows silicone mold as a stamping tool for embossed gel texture.
Save appointment time with a clear stamping workflow
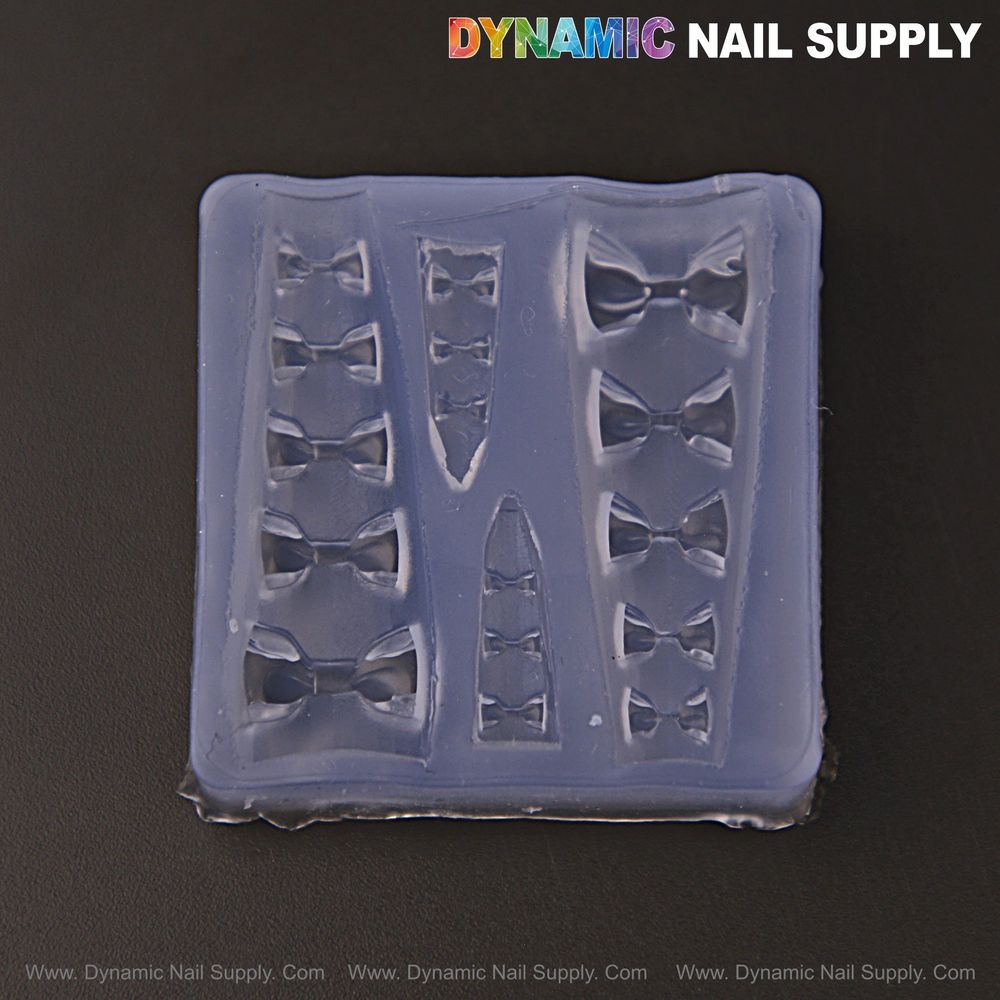
Salon managers should expect predictable throughput when they adopt the classic bow silicone stamping technique. The Size Classic Bows mold is a translucent pale lavender tray with multiple bow sizes plus long nail-shaped cavities that make it easy to line up motifs on tip-sized overlays. Because the mold is ultra-thin and flexible, it behaves differently than thick casting molds: it stamps, it does not fully constrain large volumes of gel, and it requires a controlled press-and-release routine for best results.
Prepare once, repeat reliably
- Clean and dry the mold before each service; dust or residue blocks tiny details.
- Work at a tidy station with lamp, scraper card, tweezers, and a dotting or carving pen ready.
- Use uncured or tacky gel layers that will accept a surface impression without sinking or flowing.
- Expect to train techs on feel: pressure and release timing matter more than speed.
7-step stamping routine for crisp embossed bows
- Lay the base layer: Apply the base gel or builder layer and level it to the outline where the bow will sit. Don’t overfill—the goal is a slightly domed, tacky surface that will take an impression.
- Prepare the mold: Wipe the translucent Size Classic Bows mold with alcohol or a nail cleanser and let it air dry. Confirm cavities are free of lint; its frosted edges and glossy faces show trapped dust.
- Dose sparingly: If stamping from the mold (not casting), add a very small puddle of the same gel into the bow cavity only when doing a reverse-stamp technique. For direct stamping onto an uncured layer, the mold itself should be clean and dry—the gel stays on the nail, not in the mold.
- Align and press: Position the selected bow cavity over the tacky area. Hold the mold flat and use steady, even pressure—enough to transfer texture but not to squeeze gel into surrounding areas. The multiple cavity sizes on this tray let techs choose tiny to larger bows without swapping tools.
- Controlled release: Keep pressure for 3–8 seconds depending on gel viscosity, then gently flex the mold at the edges to lift. Avoid peeling the mold from the center first; that can stretch fine bow loops and blur detail.
- Stage cure: If detail looks crisp, cure briefly for 5–10 seconds to lock the impression, then finish a full cure per product instructions. Staged curing reduces flow and preserves raised edges.
- Finish and seal: Tidy any peripheral tack with a small brush or clearing gel, then finish with a top coat around the embossed area and cure fully. For added strength on tips, consider a thin encapsulating layer over the edges before final top coat.
Avoiding common failure points
- Air entrapment: Minimize fast, forceful presses. Slow, steady pressure lets trapped air escape from the cavity perimeter rather than creating voids in the impression.
- Overpressure: Pressing too hard pushes gel into unwanted valleys and flattens the motif. If detail blurs, reduce pressure and extend hold time slightly.
- Early peel: Don’t pull the center first; flex from the edges to release. The mold’s soft premium silicone is forgiving but thin walls can distort if peeled sharply.
- Material mismatch: Extremely runny gels will spread and lose definition; very thick uncured pastes may not accept fine detail. Choose a gel viscosity that holds micro-relief when pressed.
Controlled pressure, a short staged cure, and edge-first flexing are the three habits that keep embossed bows sharp and repeatable.
When to rework or replace stamped details
- Minor sink or uneven height: blend carefully with a thin layer of builder gel and re-stamp while tacky, or re-sculpt tiny loops with a carving pen before final cure.
- Blurred loops or lost center pits: usually a technique issue—reduce pressure and use a slightly firmer base layer next time.
- Mold damage: if small tears appear around delicate cavity rims, retire the mold for cast-only pieces; thin molds designed for stamping will eventually show edge fatigue with heavy daily use.
Care and storage that preserve stamping precision
- Wash with mild soap and warm water after each shift, dry flat, and keep away from direct sunlight to protect the translucent pale lavender finish.
- Store the Size Classic Bows mold flat in a dust-free tray or folder—folding or stacking heavy items on top will warp thin cavities.
- Label trays for size selection so techs grab the right bow quickly; the visible multicolor logo and black background in the photo make these molds easy to identify in a kit.
Workflow and time expectations for salon scheduling
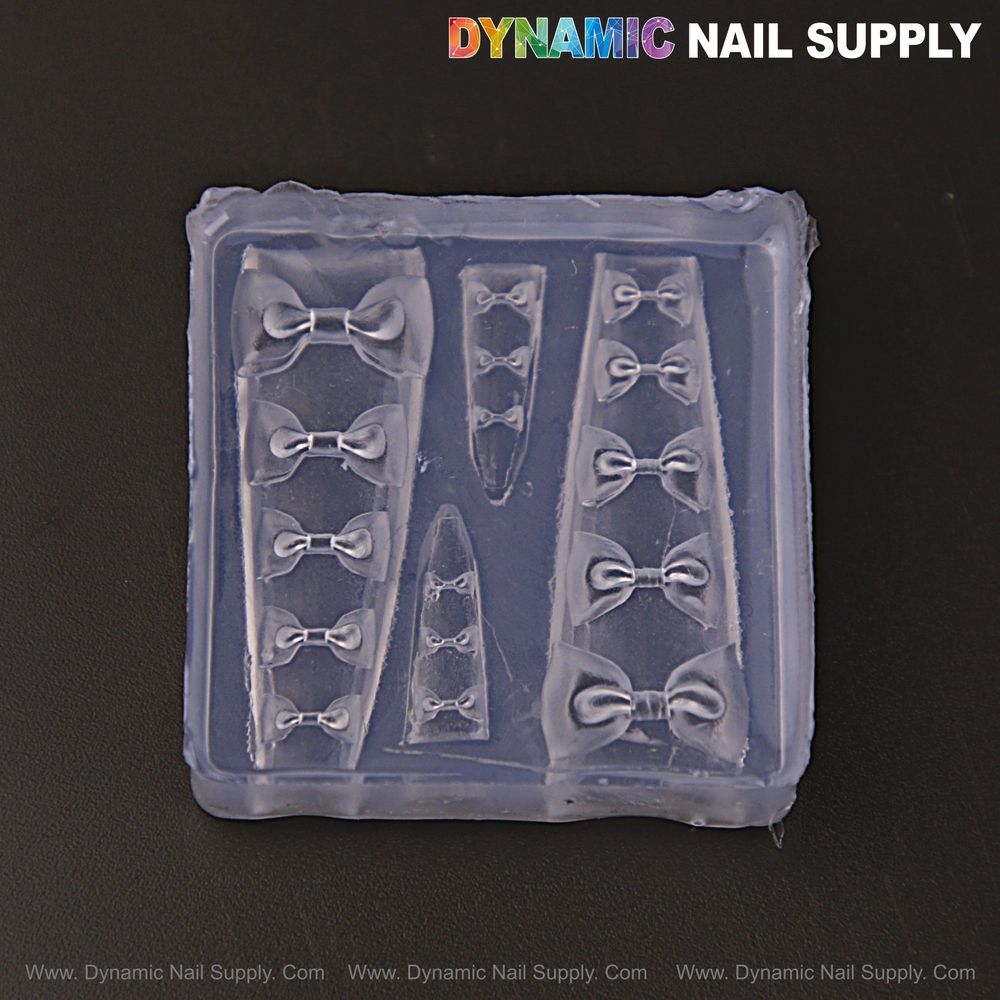
For an experienced tech using the classic bow silicone stamping technique, expect a learning curve of a few shifts to achieve consistent crispness. Once habits are set (pressure, release, staged cure), adding a small embossed bow to an accent nail adds 1–3 minutes per nail. Because the mold includes tiny, medium and large bows plus tip-shaped cavities, techs can service varied client requests without swapping trays, which helps keep service times steady.
Practical safety and hygiene notes
- Always clean the mold between clients with appropriate salon disinfectant that’s compatible with silicone—avoid harsh solvents that can dry or swell the material.
- Use tweezers or tools, not fingers, when positioning delicate impressions to reduce contamination and maintain crisp detail.
Price is modest and may change; stocking a few of these thin translucent trays helps rotation and protects fine edges under daily salon pressure.
Final quick recap
- Train on pressure, release timing, and staged curing.
- Keep mold clean, flat, and out of direct sun to preserve fine detail.
- Use appropriate gel viscosity and seal embossed edges for durability.
- Rotate molds in busy salons to avoid edge fatigue and tears.
Purchase reference for your supply list (product link below): Size Classic Bows mold