
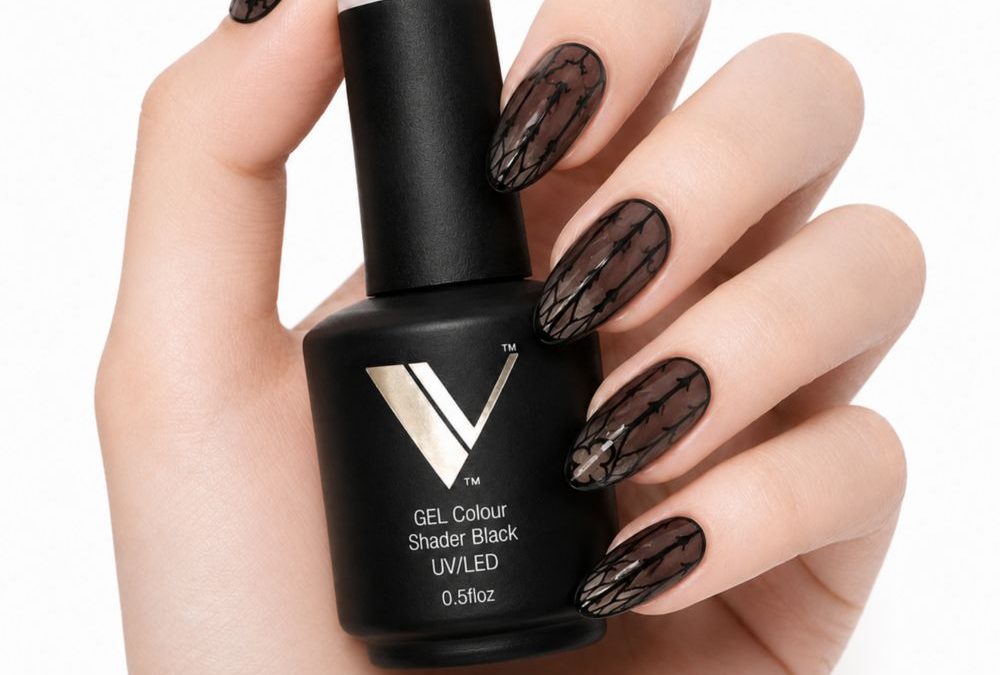
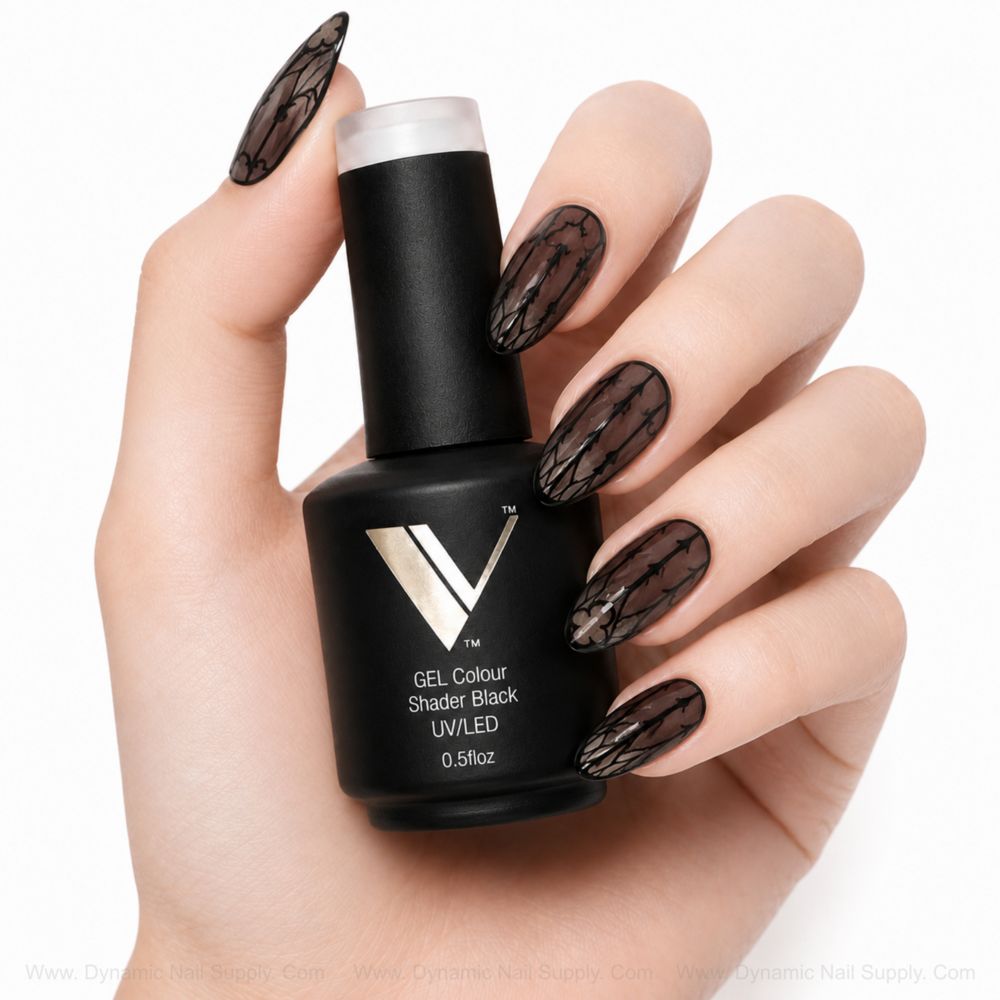
Ready to offer a moody, couture set that reads editorial but works fast for a busy book? This step-by-step workflow shows salon managers how to build a sheer smoky brown translucent base on almond nails, then use V Beauty Pure Shader Black Gel Polish for crisp, lace-like black linework and a high-gloss finish.
Save time with a thin, translucent base that shows negative space
Start by prepping the natural nail for adhesion and longevity: push cuticles, lightly buff the nail plate, and remove dust. For this look the base is intentionally sheer—think smoky-brown translucence that keeps the nail bed visible. Apply 1–2 thin coats of the sheer base color; the goal is a couture translucent wash rather than full opacity. Cure under LED for 60 seconds per coat as recommended for compatible gels. Thin layers mean faster curing, fewer edge lifts, and an evenly glossy surface that will make the Shader linework pop.
Build depth without heaviness using the Shader identity
V Beauty Pure Shader Black Gel Polish is designed to be ultra-pigmented yet blendable, which makes it the right choice when clients want deep contrast without a blocky black base. Use a diluted approach for shading: thin the Shader with a clear gel to create smoky gradients or leave it full strength for opaque lines. The product self-levels nicely, so thin strokes settle cleanly on the glossy translucent base; this maintains the delicate negative-space mood shown in the photo—sheer smoky brown base with lace-like black linework and clear highlights.
Precision linework: brushes, posture, and pressure
Fine lace details demand a steady setup. Use a fine liner brush and rest your hand on a stable surface. Work in short strokes for the finest control; Shader Black cures cleanly so you can build crisp outlines without drag. For delicate lace motifs, paint the black leading lines first, cure for 60 seconds, then add softer diffuse shadows with a diluted Shader mix and a soft brush. The Shader’s formulation supports both opaque black line art and translucent jelly effects when mixed with clear gel, so artists can switch between hard edges and smoky fills without changing products.
One product gives both the crisp, opaque lines and the sheer smoky fills that make gothic lace feel couture yet wearable.
Layering and curing strategy to prevent overbuild
Plan layers so the final topcoat sits flush with the nail edge. Because the Shader works well in 1–2 thin coats for linework and blends, keep each pigment layer thin and cure fully before adding another. Overbuilding opaque black lines can create raised ridges that trap chips; instead, build depth by alternating cured opaque strokes with thin smoky blends. Finish with a high-gloss topcoat cured per manufacturer instructions to lock in the glossy, reflective finish seen in the photo.
Edge care and wear expectations over weeks
On natural or lightly extended almond nails, expect edge wear at the free edge and tip separation first. Because the design relies on negative space and translucent base, chips at tips show sooner than on fully opaque sets. With proper prep and thin layers, salons should predict 2–3 weeks of wearable service before visible tip wear; life will vary with client activity. Minor tip chips are often repairable in-salon with a quick touch-up using the same Shader product and a thin touch of base color, then re-topcoat and cure.
For crisp, noir outlines and smoky fills use Shader Black Gel Polish to get both opaque linework and translucent jelly effects in one bottle.
Removal, maintenance, and sanitary handling
V Beauty Pure Shader Black Gel Polish soaks off with standard gel removal techniques; plan removal stations and retail any recommended acetone wraps or foils. For maintenance between fills, recommend clients avoid harsh acetone exposure and suggest gentle oils for cuticle care to preserve the glossy negative-space look. Keep bottles capped and stored upright in a cool, dark area to maintain consistency; avoid prolonged direct light exposure near curing lamps.
Salon workflow tips to keep booking efficient
- Slot 60–75 minutes for a full set with detailed lace—allow extra time for fine linework.
- Standardize brushes and lamp times to avoid variability between technicians.
- Use thin layers everywhere; they cure faster, reduce lifting, and make later touch-ups simpler.
- Train techs to alternate opaque strokes with diluted Shader fills to get couture depth without thickness.
Safety and client guidance
Follow standard gel handling precautions: avoid skin contact with uncured gel, store capped, and keep away from direct heat or strong light. When advising clients, recommend they report lifting or irritation immediately; remove and rebalance a lift rather than leaving it, to prevent moisture from collecting under the design.
Final signs a set needs repair or replacement
- Visible tip chips that break the lacquered edge—repair or replace depending on extent.
- Lifted areas at the cuticle or sides—these should be corrected promptly to stop further separation.
- Loss of glossy finish across most nails—re-topcoat if minimal wear, full redo if the underlying layers are compromised.
Price note: Shader Black Gel Polish is listed at $19.74 for a 15ml bottle; prices may change.
Quick recap for busy managers
- Prep thoroughly and use thin, translucent base coats.
- Use V Beauty Pure Shader Black for both opaque lines and diluted smoky fills.
- Cure each thin layer for 60 seconds under LED and finish with a glossy topcoat.
- Expect tip wear before color loss; plan 2–3 week returns and quick in-salon touch-ups.